TL;DR
- Use the
.serverattribute of your Dash app to mount it in responder.- Set the
requests_pathname_prefixparameter when initializing your Dash app to the route at which you mounted it.
Since Kenneth Reitz started working on the Responder web framework (or “HTTP Service Framework” as they like to call it) somewhere in (late?) 2018, I have been interested in it. Responder is built on top of Starlette, a project by Django Rest Framework creator Tom Christie. Since I have worked a lot with Django in the past, the more lightweight Flask-like interface, built-in websocket support, streaming responses and other async goodness of Responder sparked my interest.
One lesser known (well, at least to me) feature is the ability to “mount” other ASGI/WSGI apps in Responder, effectively letting Responder serve those apps without having to deploy them separately. At first I could not think of a use case for it and forgot about the feature, but since I am experimenting with Plotly Dash dashboards I realized I could make use of this “mounting” feature for these dashboards.
This post is a short how-to on mounting a Dash app in Responder.
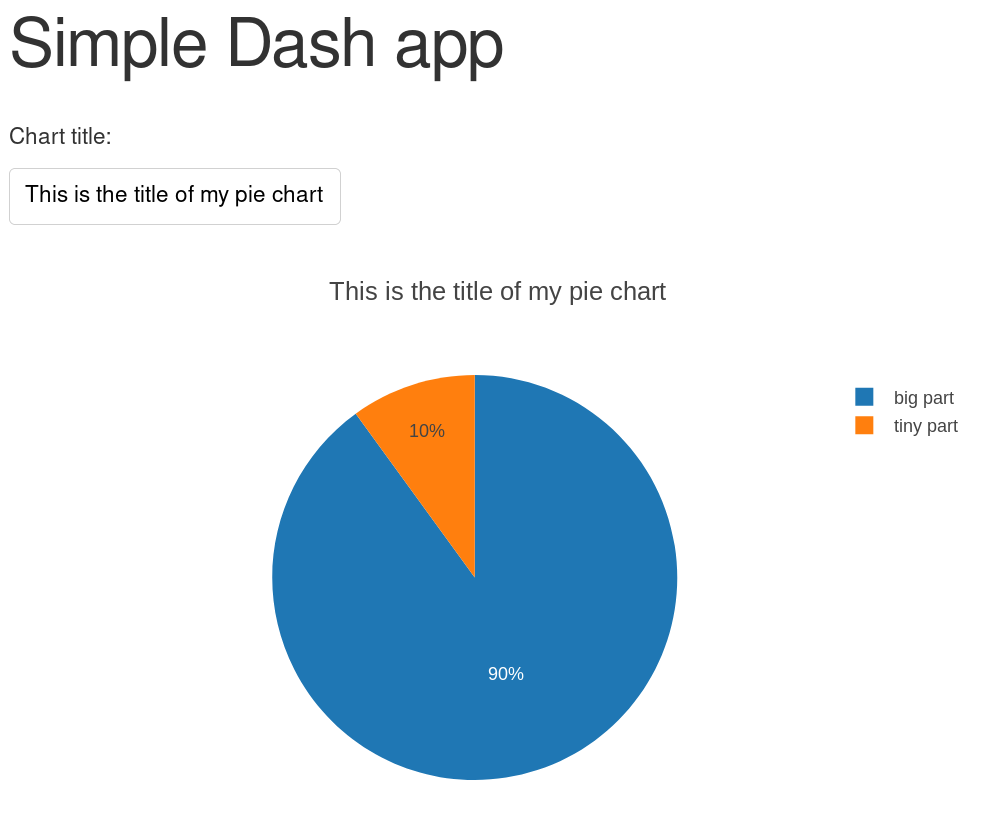
Let us first define a minimal dash app with some interactiviy:
# Filename: dash_app.py
import dash
import dash_core_components as dcc
import dash_html_components as html
from dash.dependencies import Input, Output


external_stylesheets = ['https://codepen.io/chriddyp/pen/bWLwgP.css']


app = dash.Dash(
    name=__name__,
    external_stylesheets=external_stylesheets,
)


app.layout = html.Div(children=[
    html.H1(children='Simple Dash app'),
    html.P('Chart title:'),
    dcc.Input(id='input-field', value='This is the title of my pie chart', type='text'),
    dcc.Graph(id='pie-chart')
])


@app.callback(
    Output(component_id='pie-chart', component_property='figure'),
    [Input(component_id='input-field', component_property='value')]
)
def update_output_div(input_value):
    return {
        'data': [
            {
                'values': [10, 90],
                'labels': ['tiny part', 'big part'],
                'type': 'pie'
            }
        ],
        'layout': {'title': input_value}
    }


if __name__ == '__main__':
    app.run_server(debug=True)
This renders a simple dashboard where you can interactively change the title of the pie chart:
And let us also define a very simple Responder app:
# Filename: responder_app.py
import responder


api = responder.API()


@api.route('/hello/{world}')
async def hello(_, response, world):
    response.text = f'Hello, {world}!'


if __name__ == '__main__':
    api.run()
The Responder syntax for embedding an ASGI/WSGI app (docs) is:
api.mount(route='/your_route', app=wsgi_or_asgi_app)
That seems quite straight-forward! And it is indeed straight-forward when you want to embed another plain Flask (or even Responder) app. However, for Plotly Dash apps you need to be aware of 2 things:
1. Where to find the Flask server in your Dash object.
The “app” paramater that you need to pass to api.mount() is not the app object in dash_app.py, but the server attribute of this object.
Therefore, you need to update your Responder app like this:
# Filename: responder_app.py
import responder

import dash_app


api = responder.API()


@api.route('/hello/{world}')
async def hello(_, response, world):
    response.text = f'Hello, {world}!'


api.mount('/dash', dash_app.app.server)


if __name__ == '__main__':
    api.run()
2. Dash app root url
For callbacks and retrieving static files the Dash app needs to now the path on which it is running. By default this would be the root url (e.g. http://localhost:5042/ when running locally) but if the route on which you mounted the Dash app is e.g. /dash it should use that path as the root.
You can do this by specifying the requests_pathname_prefix parameter when initializing the Dash app:
app = dash.Dash(
    name=__name__,
    external_stylesheets=external_stylesheets,
    requests_pathname_prefix='/dash/'
)
That’s it!
Now your Plotly Dash app can be reached at e.g. http://localhost:5042/dash.
The code for the examples provided in this post including directions on how to run it can be found here.